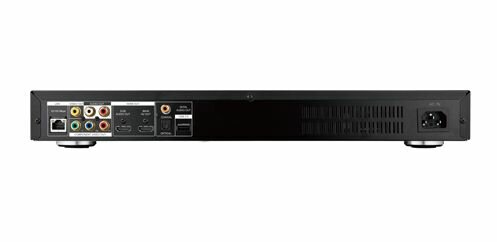
I’ve been really busy with the ASUS O!Play BDS-700 media player this weekend, seeing how well it copes with its networking capabilities and streaming. I’ve had a few people ask me about the media streaming and how well it plays media from a shared network so that is what I’ve focused on for this week. In this post I am looking at setting up the internet with the BDS-700 media player.
Now I didn’t follow the standard set-up procedures that would normally occur with the O!Play BDS-700, I just went straight into playing discs and so never set up the network. If you do the same, then to get started just go to Setup from the Home screen and select Network.
At this point I’d like to suggest you make sure your network cable is plugged in…
 Select IP Configuration and then select Wired. It will ask you “The new setting resets the existing one. Continue?” and you say Yes. You are given a variety of options to either manually input the IP Mode, IP address and so forth. Or you can simply select AUTO. I chose the latter – why work hard when you don’t have to? Click OK if you are happy with the settings.
You’ll be taken back to the settings where you can now select Wireless. Follow exactly the same procedure as you did with the wired connection and it will automatically detect all wireless networks in the area. Select your network and click OK.
If your network is password protected (and I hope it is), a keyboard will appear on the screen so you can enter your details. This is navigated by using the arrow keys on the remote control and is not as tedious as you’d expect. No, it won’t be as quick as a real keyboard, but it is laid out just like a QWERTY so you can navigate it quickly and cleanly.
Thus far the O!Play BDS-700 has proven to be a rather simple networking device. Much better than the old days of pain and network suffering.
Tap the Home button and go back to the main screen, scroll along to Internet and then use the arrow keys to navigate the menu that runs beneath it, or simply select the option you want. You can choose between Flickr, Picasa, YouTube and Radio.
In my next post, I will take you through each of these and how well they work and then I will tackle streaming from any device to the ASUS O!Play BDS-700. Don’t worry if your questions haven’t all been answered yet, they will be soon, I promise!
In the meantime, keep asking and commenting so I know what to tackle next week!

